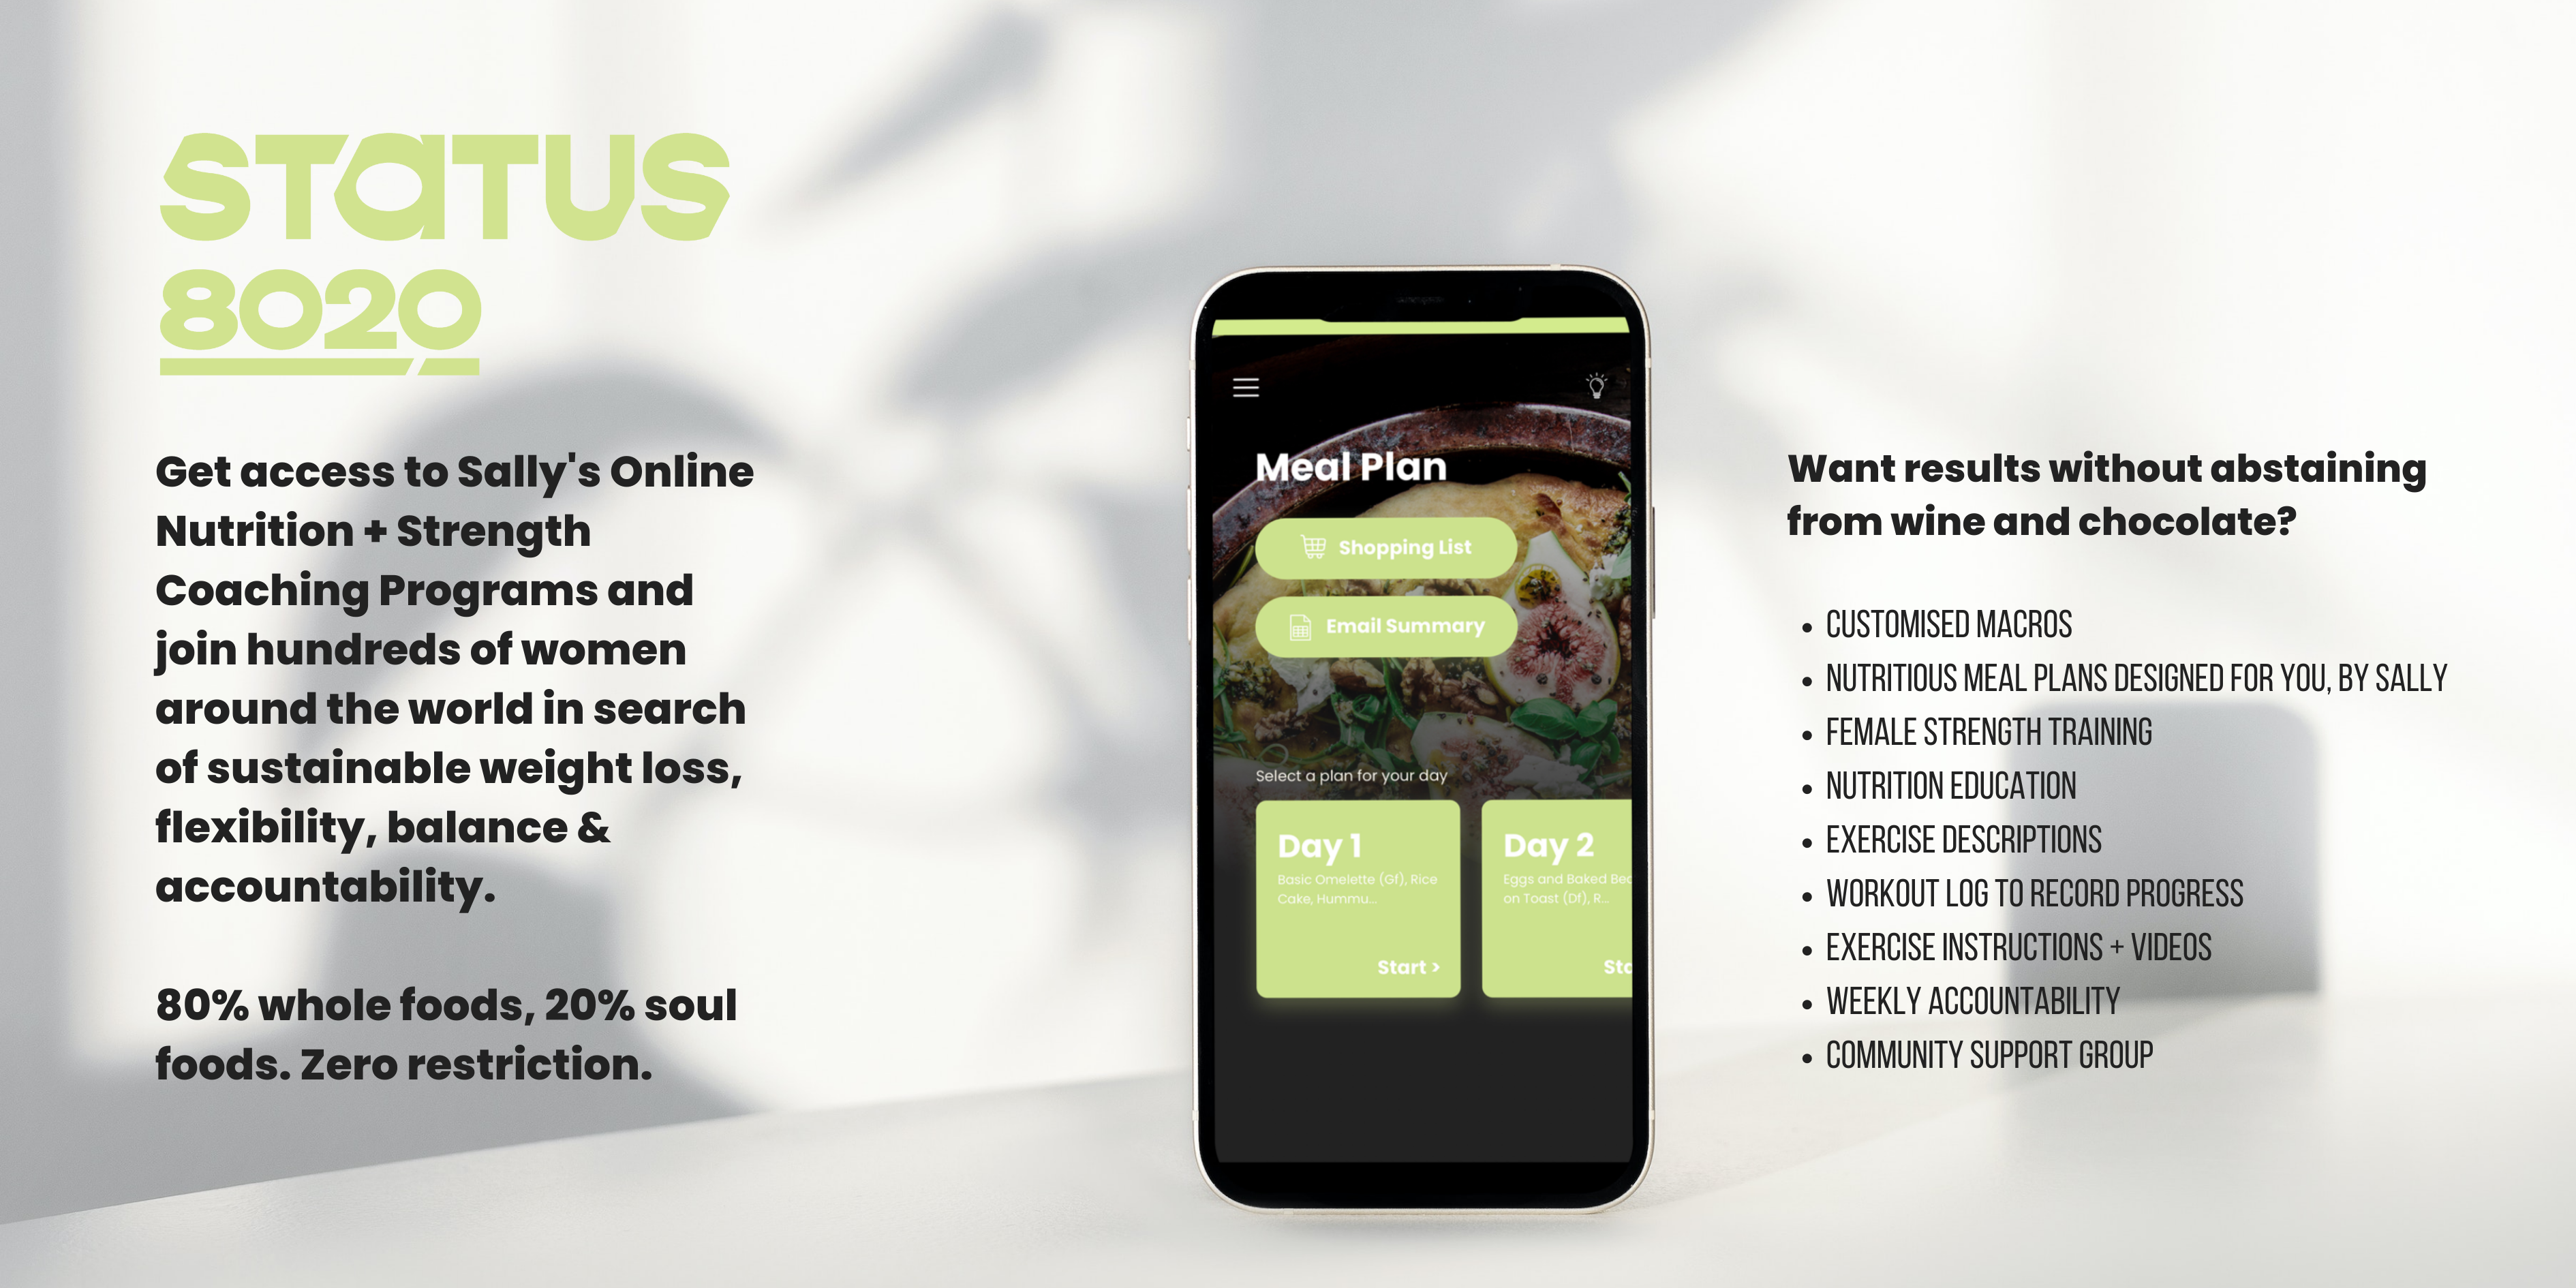
The number one question I get asked ALL THE TIME is how I make my Instagram images so pretty. I wanted to share with you my 5 top tips for nailing your next Instagram shot:
1. Find your Inspo
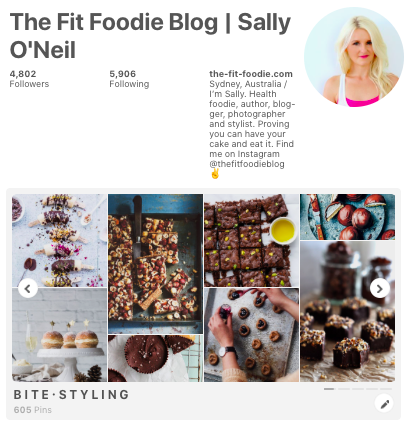
You don't need to re-invent the wheel. Find an image that really inspires you and try to replicate it with the props and tools you have at your disposal. I get so much inspiration for my images from Pinterest, and I categorise them all in board by type of food for easy access. You can check out what I use for inspo by clicking the link below. Don't forget to follow me for new pins! Click here to get into it right away:
2. Selecting the Right Background + Props
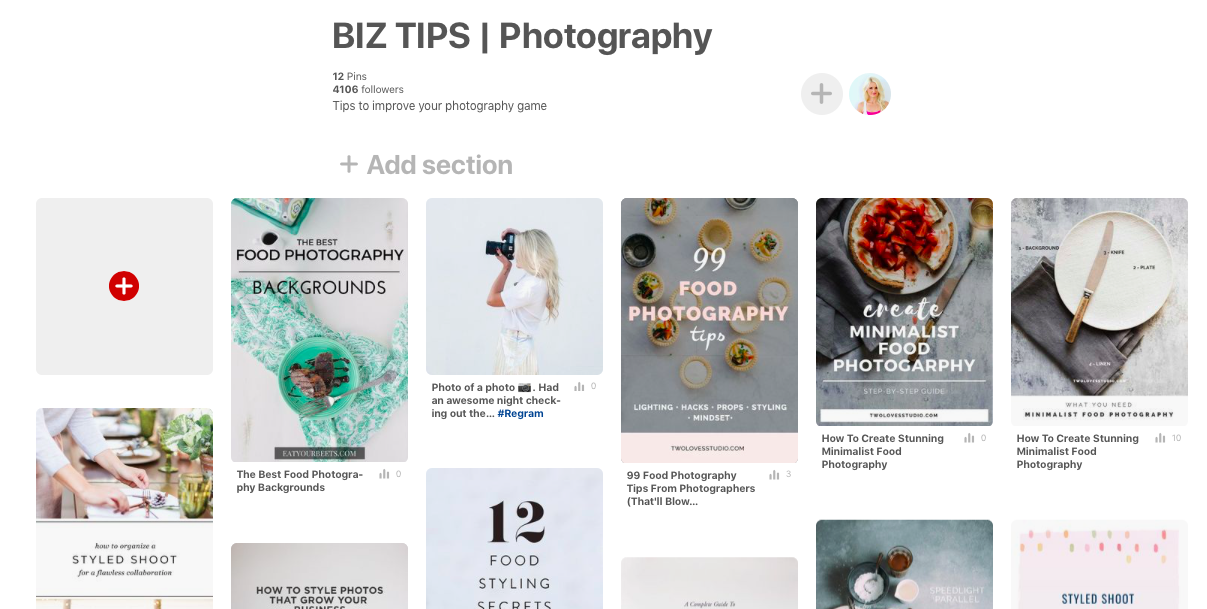
Props and backgrounds can make or break a photo. It is very easy to go a little too far with using backgrounds and props while styling photos. When it comes to backgrounds, I recommend using ones that have good contrast with the main object you are trying to capture. Good backgrounds highlight the subject of the photo without being overpowering and competing. Something as simple as a white foam board can be one of the best backgrounds for your photos. You can also use wooden boards, contact paper, vinyl backgrounds, fabrics etc. as photography backgrounds. You'll find heaps on Etsy. As for props, check out this post that tells you all my favourite things to turn a run-of-the-mill photo into something spectacular!

3. Use the Portrait feature on your iPhone
Always wanted to know how people get that beautiful blur in the background of their images, with the hero of the image in sharp focus? In photography terms, that's called aperture. The lower the aperture on your DSLR, the more blur you get in the background. I generally show on 3.2 so I get a soft blur. If you don't have a fancy camera that had changeable aperture, the new iPhones have a 'portrait' setting in the camera that does exactly the same thing. Try it out!

4. Shoot in Natural Light
I always bang on about this, but shooting under electric light (unless you have a full lighting rig at home - yeah right) is going to be your best friend. Light sources should come in on your picture from the top, left or right. Never from beneath - it creates a weird optical illusion that our eyes don't like. If there's direct sunlight, try using a scrim (get these on eBay for $20) or sellotape a white sheet up at the window to filter the light.

5. Take your photos at different angles
You're probably rolling your eyes like 'DUH, I know that Sal', but this is something I do on every commercial shoot. I like to take one down at the subject’s level (lying on the floor if I have to), one where I’m looking at it naturally which is about 3/4 of the way up, and one looking straight down at the subject (flat-lay style). Each one will give a different feel.
|
|
|
|